

The best sewing machine for beginners is the one you will actually take out and use, and in a small home that depends a lot on where it lives between sessions. A machine that needs a dedicated table and a clear evening to set up will sit in its box. A machine you can carry to the kitchen table in one trip and put away in five minutes gets used.
This guide starts with the machine decision, judged by how each type fits into a corner, a closet shelf or half a desk. Then it covers the things most new sewers buy next: tools, scissors, a table or cabinet, storage and a cleaning habit. Layout and cutting each have their own guides, and you will find links to them where they fit.
What a beginner sewing machine needs to do, and what it can skip
A first machine has a short list of jobs. It should sew a reliable straight stitch, a zigzag stitch, and, ideally, a buttonhole. It should let you change stitch length and width with a dial or a button, and it should hold an even tension without constant fiddling.
Beyond that, a few features make daily use easier:
- A free arm. Many machines have a removable section of the base that leaves a narrow arm. It lets you slide sleeves, cuffs and trouser hems around the needle.
- A drop-in bobbin with a clear cover. You can see when the bobbin is running low, which saves you from a surprise mid-seam.
- A built-in needle threader. It helps most with tired eyes or dark thread.
- Adjustable presser foot pressure or an easy foot-change system. Thicker fabrics and thin ones behave differently, and swapping feet should not need a screwdriver.
- A speed control. A slider or a gentle foot pedal lets you go slowly while you learn to steer.
Plenty of things can be skipped. Machines advertise hundreds of decorative stitches, but a beginner will use a handful of them for a long time. Embroidery units, very large touchscreens and automatic everything are appealing, but they add weight, cost and a bigger footprint. Each feature you pay for is a feature you also have to store.
Mechanical or computerized?
Mechanical machines use dials and levers. They tend to be simple, and there is little on them to confuse a first-timer. Computerized machines use buttons and a screen, and they often offer more stitches, an automatic needle position and a start/stop button that works without a pedal.
Neither is the right answer for everyone. If you like clear, physical controls, a mechanical machine suits you. If you would rather press a button for a buttonhole and have it sewn automatically, a computerized one may feel friendlier. Check the manual and the reviews for how easy the bobbin and threading steps are, since those are where beginners get stuck.
Portable and compact machines: how to choose one that fits your space
For a small space, the machine’s size matters less than its weight and its shape. Look at the product listing for the dimensions and the weight, and compare both against the spot where the machine will sit and the shelf it will rest on.
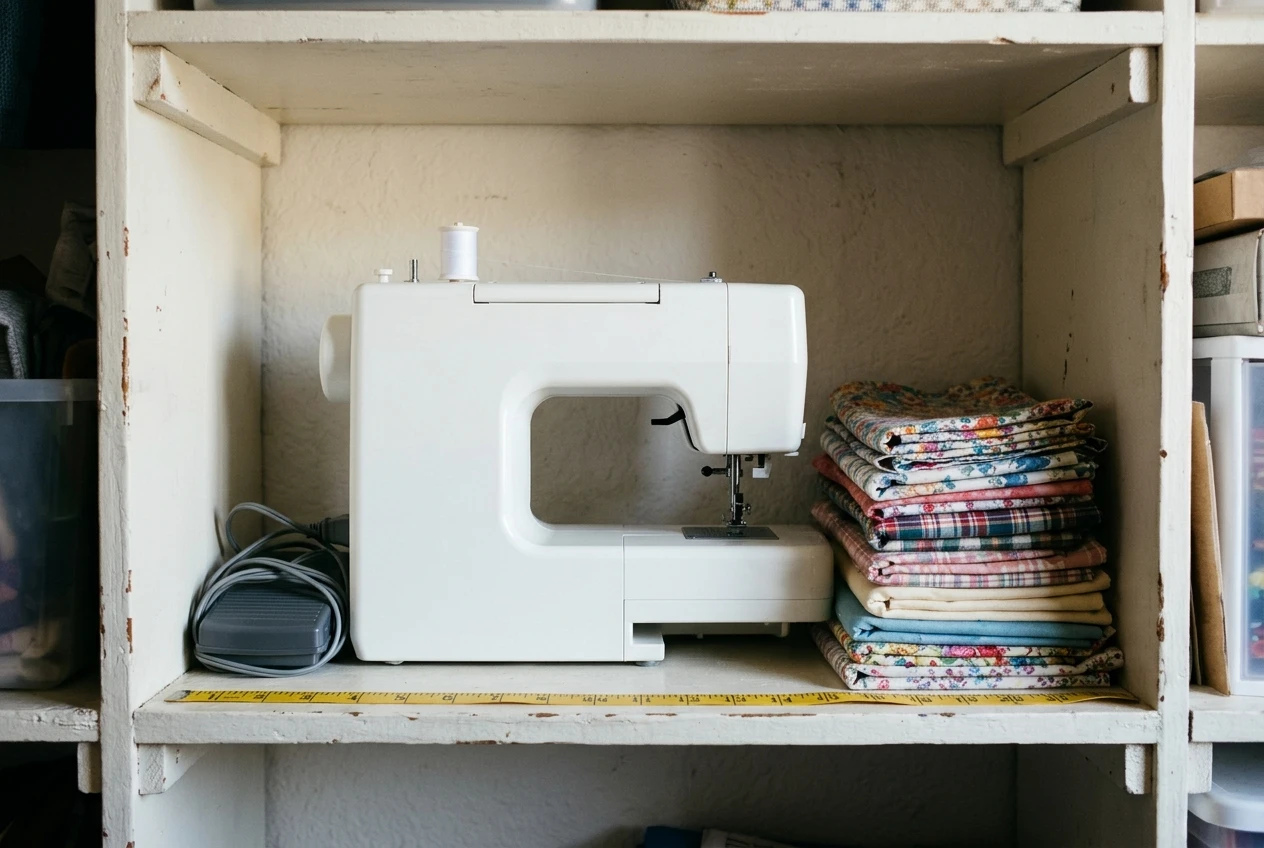
Here is how to judge a compact or portable machine for your home:
- Measure the storage spot first. Measure the shelf, closet floor or cabinet where it will live between uses, including the height. Machines with a tall handle or a tall thread stand need more vertical room than the listing’s “width” suggests.
- Check the weight against how you will carry it. If you will lift it up and down from a high shelf every time, a lighter machine is easier. If it stays on a table, weight matters less, and a heavier body usually vibrates less while you sew.
- Look at where the accessories go. Many machines have a small compartment in the free arm or a snap-on cover for feet and bobbins. A machine that stores its own parts saves you a drawer.
- Think about the cord and pedal. A foot pedal and a power cord take up space. Machines with a start/stop button can work without the pedal for slow, careful sewing, but you will usually want the pedal for general use. Make sure you have a spot to coil the cord.
- Consider the work surface. The machine’s base is small, so you will want an extension table or a nearby flat surface for larger pieces of fabric.
Small does not have to mean flimsy, but very light machines can walk across a table at high speed, especially on thick seams. A non-slip mat under the machine helps. So does sewing at a moderate speed while you are learning, which is a good idea anyway.
Where a compact machine really earns its place
A compact machine suits the sewer who sets up on a dining table, a desk or a kitchen counter and clears away afterward. It also suits someone whose sewing is mostly mending, hemming, simple garments, tote bags and home projects. If you expect to sew heavy canvas, leather or many layers of denim often, read the machine’s description for what it says about fabric weight, and pick a model that clearly lists those fabrics as suitable.
Sewing machine vs serger: is a serger worth it for a beginner?
A serger, also called an overlocker, trims the edge of the fabric and wraps thread around it in one pass. It makes the neat, finished seam you see inside shop-bought knit garments. It works fast, and it handles stretchy knit fabrics well.
A serger does not replace a sewing machine. It cannot sew buttonholes or topstitch the way a regular machine does, and it is not suited to every kind of seam or technique. Most sewers who own one use it alongside a standard machine, not instead of it.
For a beginner in a small space, that matters. A serger is a second machine, with its own footprint, its own threading routine (it uses several threads at once, which takes practice) and its own cleaning needs. It also takes up room that a first-time sewer may not have.
A regular machine can finish edges without one:
- A along the raw edge stops woven fabric from fraying.
- Pinking shears cut a zigzag edge that frays less.
- French seams and folded hems enclose raw edges completely, with no extra machine.
So a serger is worth considering later, once you know you sew a lot of knits or make garments regularly and the finish on the inside of your seams has started to bother you. Until then, one good machine and a few finishing techniques cover the work. Buy the regular machine first and let the project list tell you whether a serger makes sense.
The best sewing tools for beginners, and how to choose sewing scissors
The first tool purchases should be the ones you reach for on every project. A short, sensible kit covers most beginner sewing:
- Fabric shears. The most important cutting tool you will own.
- A seam ripper. Everyone unpicks stitches, and a good ripper makes it quick.
- Pins or sewing clips. Clips hold thick or slippery fabric without leaving holes.
- A flexible measuring tape and a clear ruler. The tape measures bodies and curves, and the ruler marks straight lines.
- Tailor’s chalk or a washable fabric marker. Pick one that brushes or washes out of your fabric.
- Hand sewing needles and thread. Hand finishing and button repairs come up even when you own a machine.
- Spare machine needles. Replace the needle regularly and match its type to the fabric.
- A small iron and pressing surface. Pressing seams flat is part of sewing, not an extra step.
How to choose sewing scissors
Scissors are the purchase where it pays to be choosy. Look for these things:
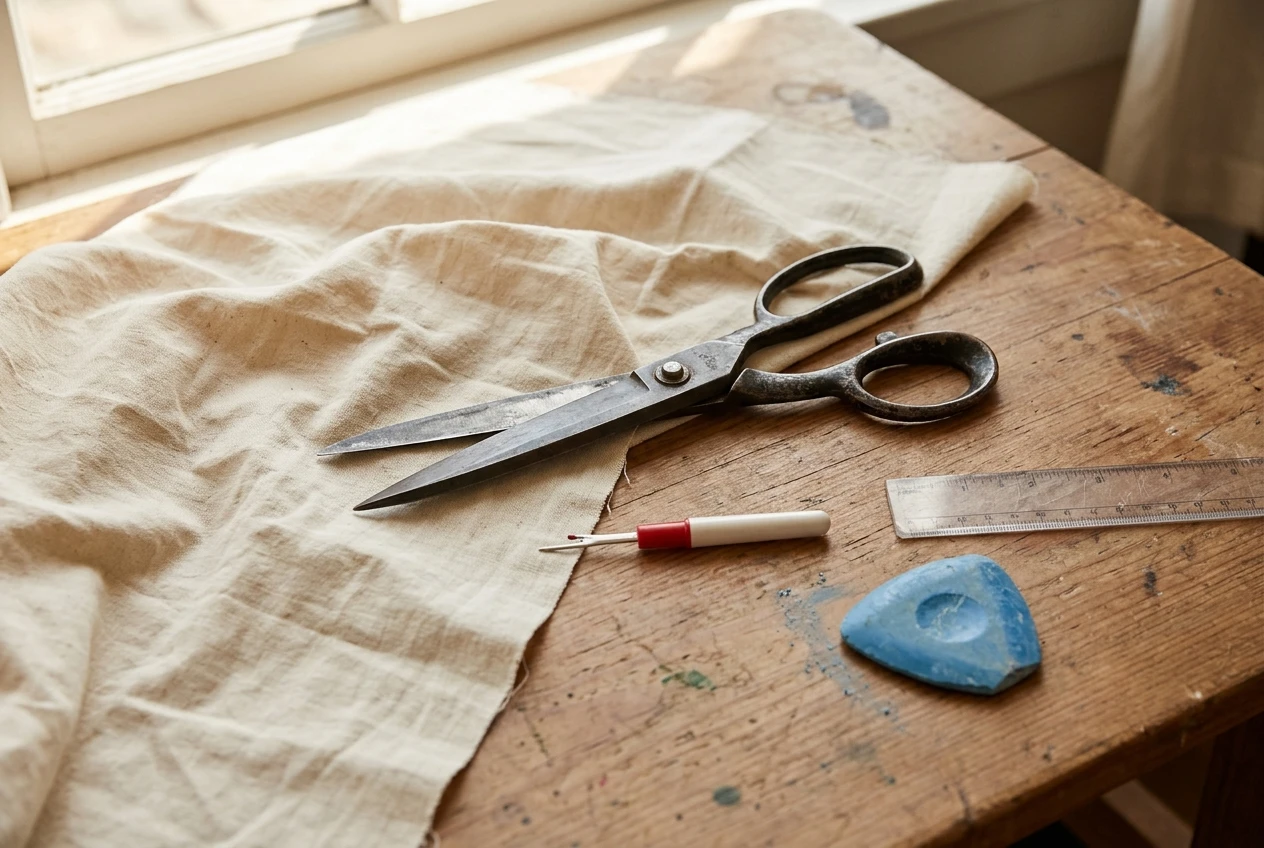
- Bent handles. Shears with an angled handle let the blade lie flat on the table while you cut, which keeps the fabric flat and the line accurate.
- A size your hand controls. Long blades cut long, smooth lines, but a heavy pair is tiring and awkward in a small space. Choose a pair that feels comfortable to open and close repeatedly.
- Left- or right-handed design. If you are left-handed, buy shears made for the left hand, because the blades are shaped so that you can see the cutting line.
- A separate pair for paper. Paper dulls fabric shears fast. Keep the shears for fabric and use a cheap pair of scissors for everything else.
A rotary cutter and a self-healing mat are a popular alternative to scissors, especially for straight lines and quilting cotton. The mat takes up table space, so check its size against your surface. If cutting space is your main problem, the guide on how to cut fabric without a cutting table goes through seven ways to do it on a floor, a bed or a small desk.
How to set up a sewing corner around your new machine
Once the machine is chosen, give it a fixed place to work. A sewing corner needs four things within arm’s reach: the machine, a flat surface for fabric, good light and a place to sit at a sensible height.
Start with the chair and the table. Your forearms should rest roughly level with the machine bed, and your feet should reach the pedal without stretching. If the table is too high, a lower chair or a cushion adjusts it. If it is too low, a firm riser under the machine works. Sewing at the wrong height is a common cause of sore shoulders and neck.
Light comes next. A window to one side is helpful in the daytime, but an adjustable lamp pointed at the needle area is the most useful addition for evening sewing. Many machines have a built-in light, which helps, but it lights a small area only.
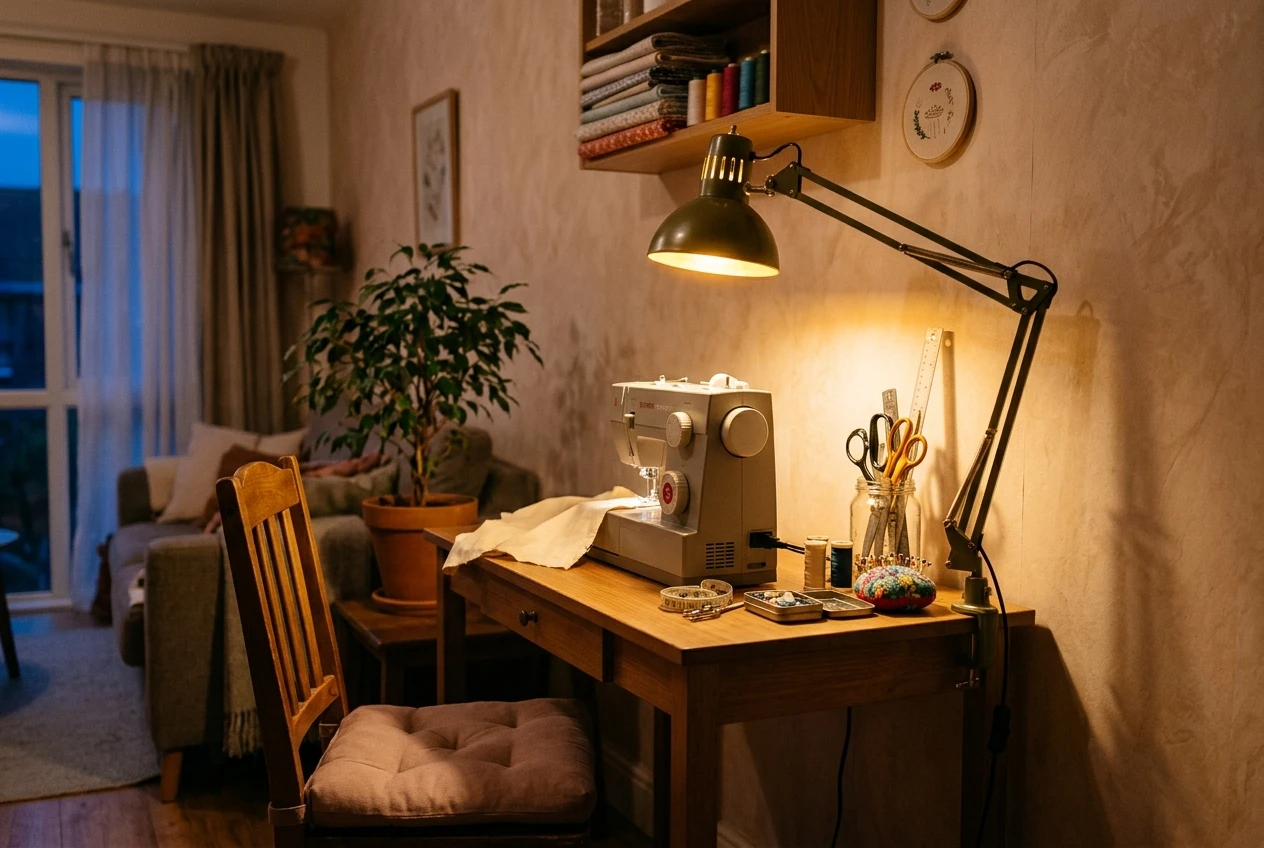
Next, arrange the nearby items by how often you use them:
- Keep the scissors, seam ripper, pins and chalk in a small tray or jar on the table.
- Put bobbins, spare needles and the machine feet in the machine’s own compartment or in one small box.
- Place the iron and pressing surface where you can reach them without leaving your seat, or at least within a step or two.
This is the part where a corner either works or doesn’t, and the layout has its own full guide. For floor plans for corners, closets and half desks, the guide to fitting a real sewing setup is linked at the end of this article.
How to make a sewing table that fits, or when a sewing machine storage cabinet is the better call
A sewing table has to do two jobs: hold the machine at a comfortable height and give your fabric somewhere to rest. In a small space, you have three realistic routes.
Use a table you already own
A dining table, a desk or a console table can all work. The advantage is that you spend nothing and the surface folds into normal use when you finish. The drawback is that you set up and pack down each time. A tray or a rolling cart for your tools makes that quicker, because you move one thing instead of many.
Build or adapt a table
A simple sewing table can be a flat board on sturdy supports, cut to the width of your wall space. If you want to make a sewing table that fits your space, take these measurements first:
- The width and depth of the wall or corner that will hold it.
- The height that puts your forearms level with the machine bed when you sit.
- The space the machine needs, plus about the same again on the left side for fabric to rest.
A cut-out or a lowered section lets a machine sit flush with the table top, which supports the fabric around the needle. Many machines also offer a clear extension table that attaches to the base and does the same job without carpentry. Check your model’s compatibility before you buy one.
A fold-down wall-mounted table is another option for a very tight space. It needs secure fixing into the wall, so follow the hardware instructions or ask someone who is confident with the work.
When a storage cabinet is the better call
A sewing machine cabinet is a piece of furniture with a lift-in or fold-out work surface and storage inside. It makes sense if:
- Your sewing area is visible from a living space and you want it to look like furniture when closed.
- You do not have a spare surface and cannot dedicate a desk.
- You want the machine, pedal and supplies packed into a single unit.
A cabinet has drawbacks. It takes a fixed spot, it can be heavy to move, and the machine must fit the cabinet’s insert or platform. Check the machine dimensions against the cabinet’s interior before you buy either one. If you move house often or share the room, a table you can fold or carry may suit you better.
How to organize sewing supplies and store fabric scraps in a small space
Sewing supplies multiply quickly: thread, bobbins, buttons, zips, interfacing, patterns and fabric. Organization in a small space comes down to two principles: store things where you use them, and give each category one container.
Some practical systems:
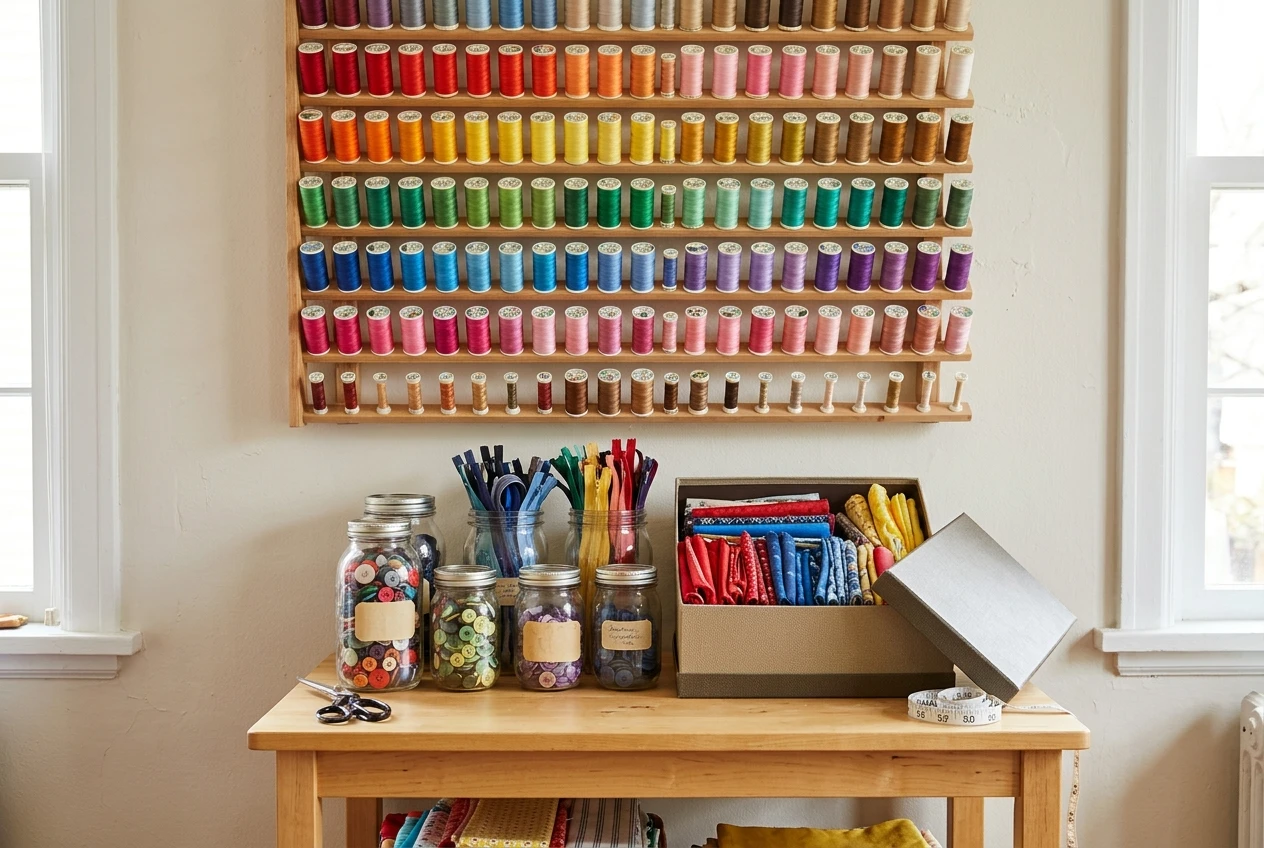
- Thread: a shallow drawer, a lidded box or a wall-mounted rack keeps spools visible. Visible spools save you from buying a colour you already own.
- Bobbins: clip or snap them onto the matching spool so the colours stay paired.
- Notions: buttons, zips and hooks keep best in small clear boxes or jars with a label.
- Patterns: fold them back into their envelopes, or store them upright in a file box or magazine holder.
- Tools: a jar, pegboard or magnetic strip near the machine keeps scissors and rulers off the work surface.
Use vertical space. A shelf above the table, a hanging organizer on the back of a door or a rolling cart with several tiers all add storage without taking more floor.
Fabric scraps
Scraps pile up fast, so decide early what to do with them. Sort them by size when you put them away:
- Pieces large enough for another project go in a folded stack on a shelf or in a bin, sorted by fibre or colour.
- Small offcuts go in a single labelled bag or box for patchwork, appliqué and small projects.
- Tiny trimmings and threads can fill a stuffing bag for cushions or pet beds, or go in the bin.
Setting a limit helps: when the scrap box is full, you either sew something from it or let some go. This keeps the pile from taking over the corner. Storing fabric away from direct sunlight and damp also stops fading and mildew.
How to clean a sewing machine so it keeps running smoothly
Lint is the main enemy of a sewing machine. Fabric and thread shed tiny fibres, and they collect around the bobbin area and under the needle plate. Too much buildup can cause skipped stitches, uneven tension and noise.
A basic cleaning routine looks like this:
- Switch off and unplug the machine. Do this before any cleaning.
- Remove the needle, presser foot and needle plate. Your manual shows how for your model.
- Take out the bobbin and its case.
- Brush out the lint. Use a small brush, usually included with the machine, to sweep fibres from around the feed dogs (the small teeth that move the fabric) and the bobbin area. Blowing into the machine can push moisture and lint deeper, so brush and lift lint out instead. Some people use a vacuum with a small nozzle, but check your manual first.
- Wipe the outside with a soft, dry cloth.
- Reassemble and sew a test seam on scrap fabric.
How often to clean depends on how much you sew and what fabric you use. Fluffy or loosely woven fabrics shed more lint. A quick brush-out after every few projects, or whenever the stitches start to look uneven, is a reasonable rhythm.
Oiling varies by machine. Some machines need a drop of sewing machine oil at specific points, and others are designed not to be oiled at all. Read the manual before you oil anything, and use only oil made for sewing machines.
Change the needle regularly too. A bent or dull needle causes skipped stitches and snags, and it is a cheaper fix than a service. Cover the machine when you finish, with its hard case or a fabric cover, so dust stays out between sessions.
Choosing once and building from there
Pick the machine by its basics: a dependable straight stitch and zigzag, simple controls, a free arm and a weight and size that match your storage spot. Add the cutting tools, pins, a seam ripper and a spare supply of needles. Let the table, cabinet and storage grow from how you actually sew.
Ready to give your new machine a home? Read the guide to fitting a real sewing setup into a corner, a closet or half a desk.